A one-minute video showing how to construct triangles.
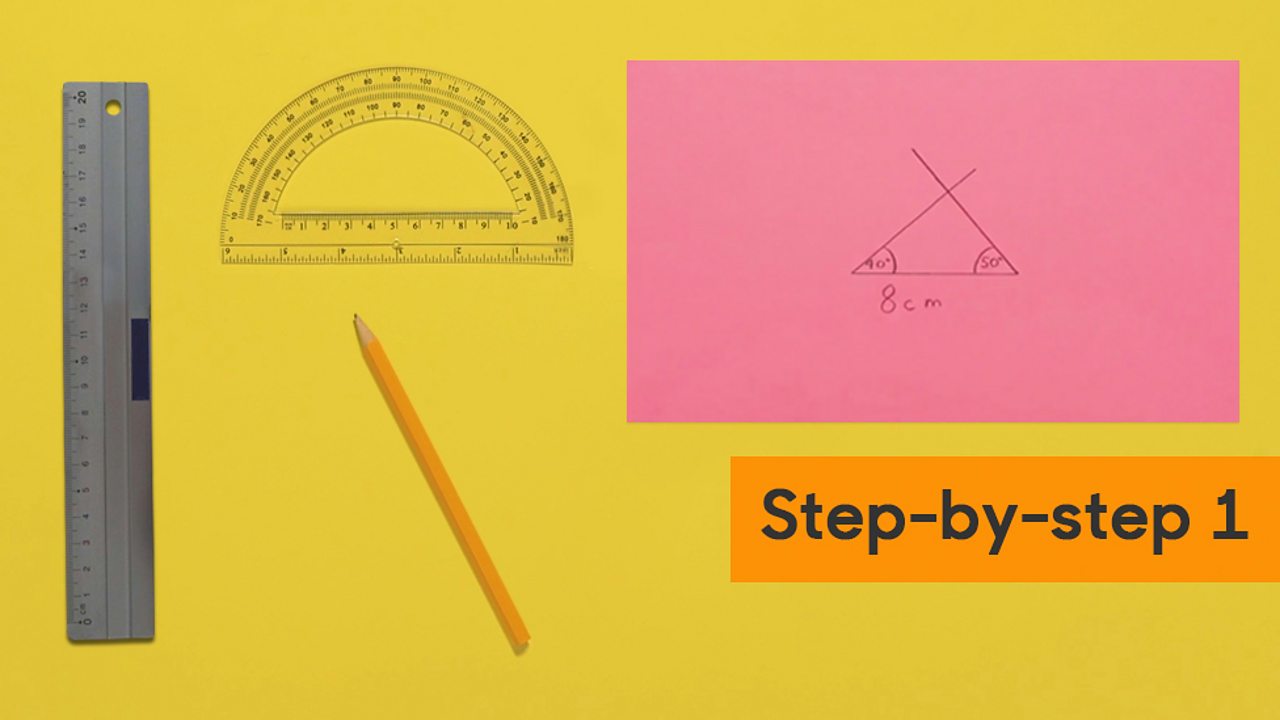
How to construct a triangle given 1 side and 2 angles
Click to see a step-by-step slideshow.
1 of 7
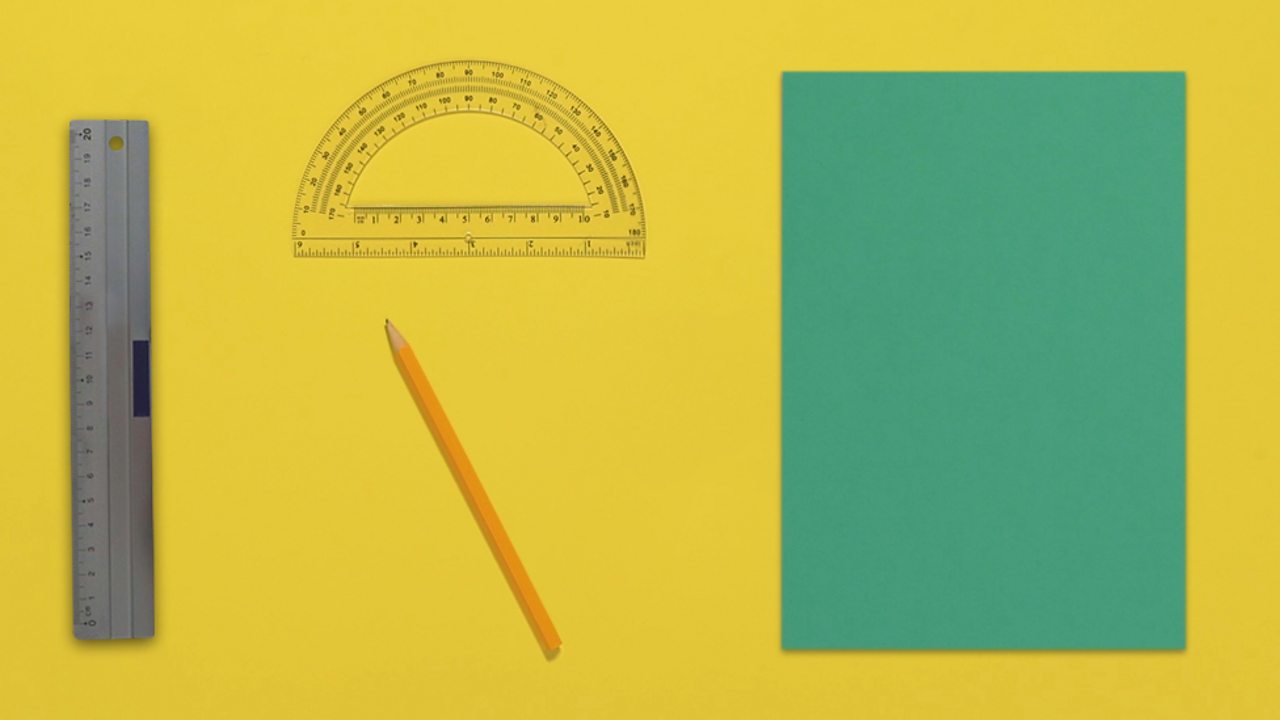
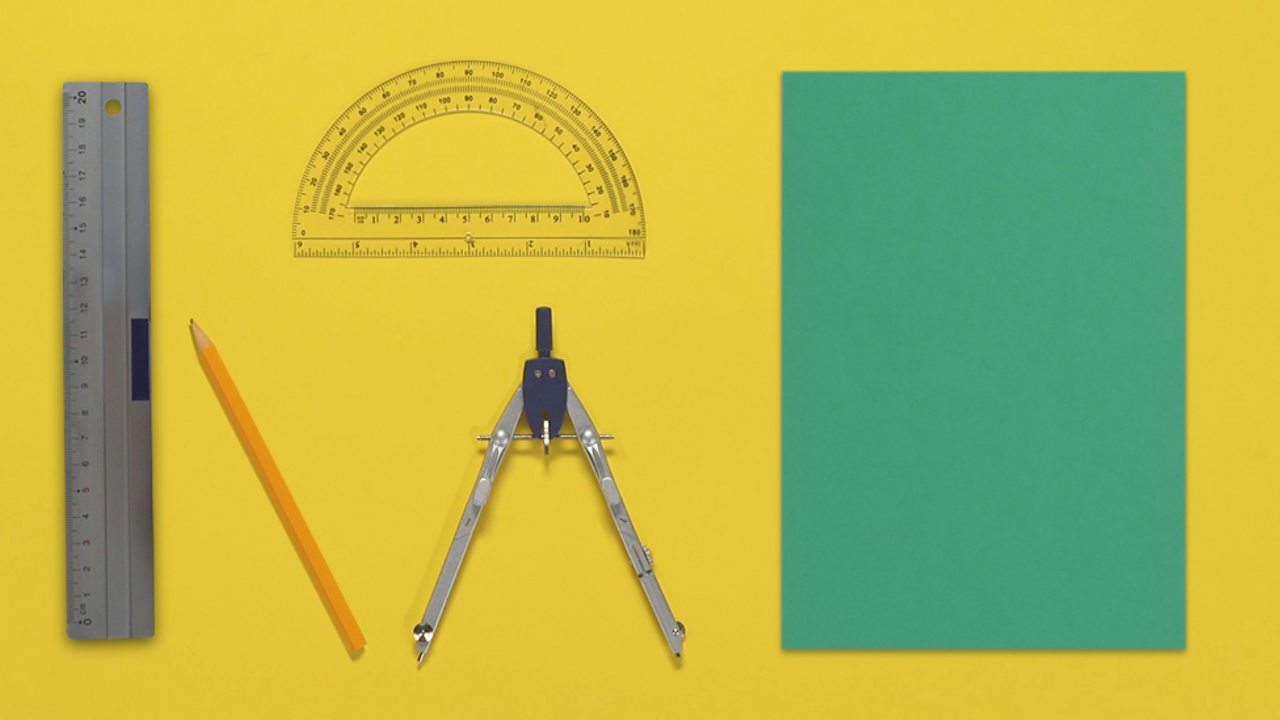
WHAT YOU NEED: ruler, protractor, pencil and paper.
2 of 7
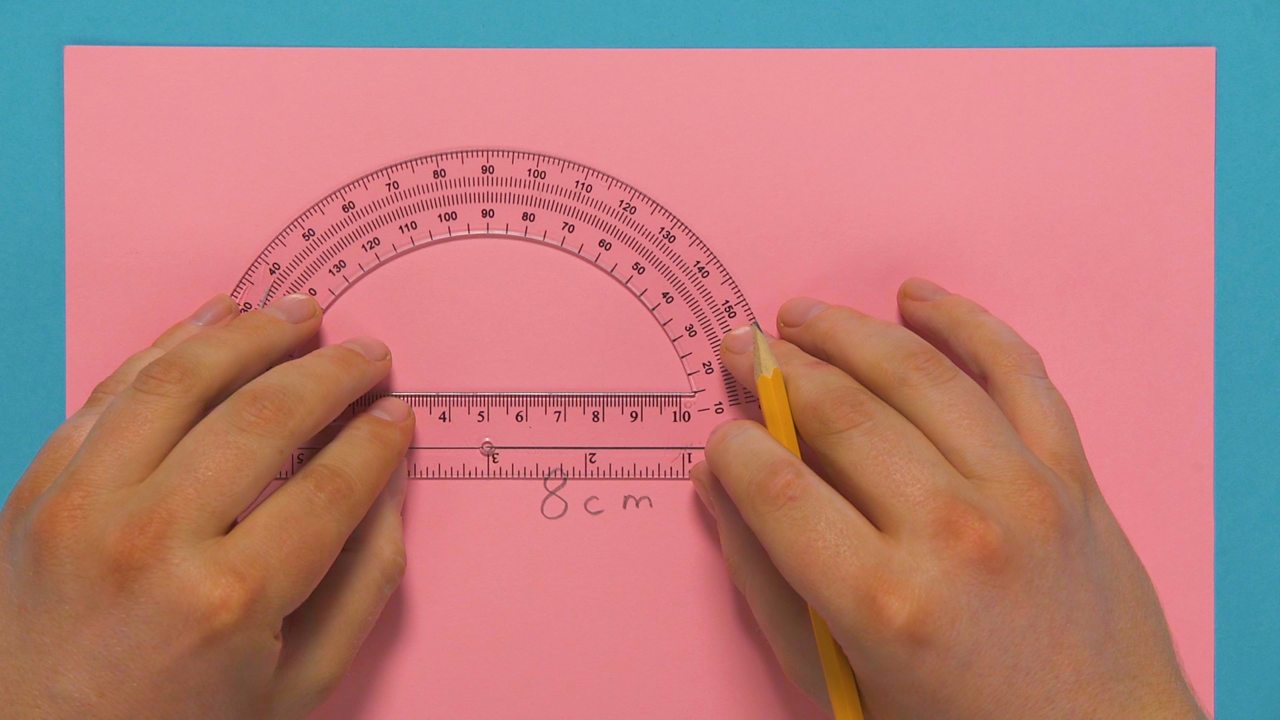
STEP 1: This is what to do when you know the length of 1 side and the 2 angles at each end of it: here 8 cm, 40° and 50°. Draw an 8 cm line using a pencil and ruler. Place the centre of the protractor on the end of the line and mark 40° with a dot.
3 of 7
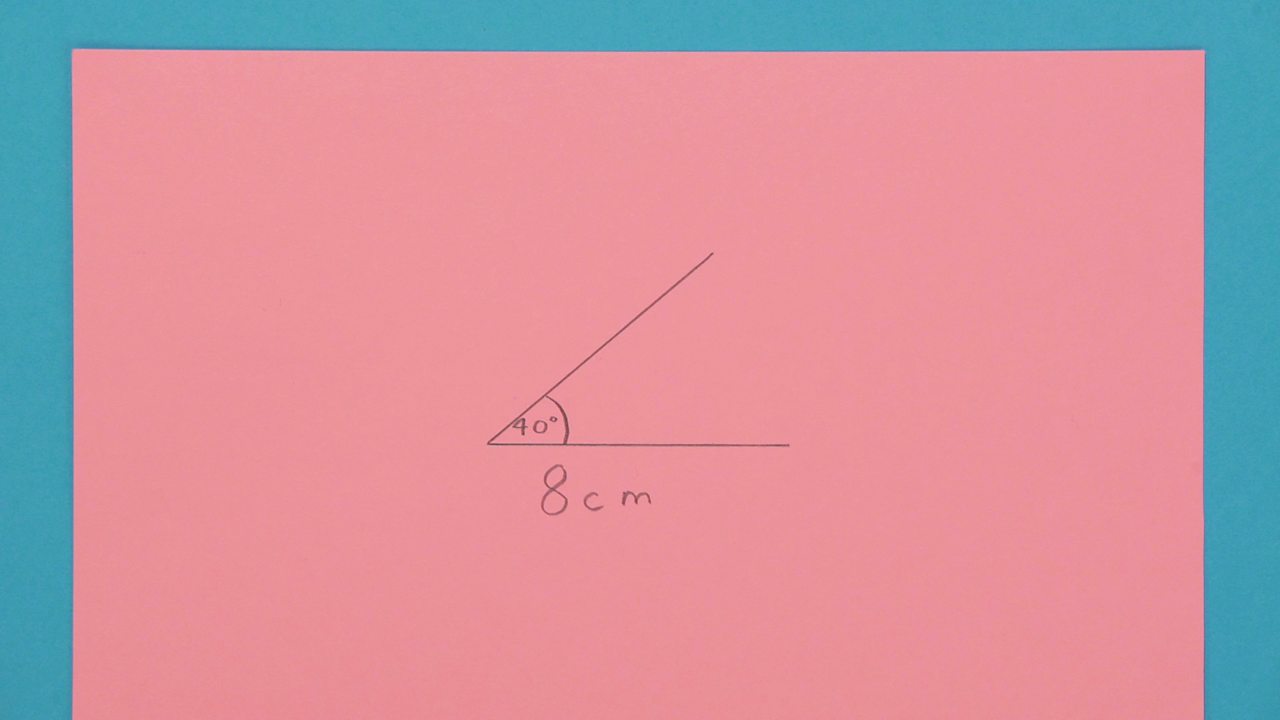
STEP 2: Use a ruler to draw a line from the end of the line through the dot and label the angle 40°. TIP: you won't know the exact length of this new side yet so draw it a bit longer than you think you'll need. You can always extend it later.
4 of 7
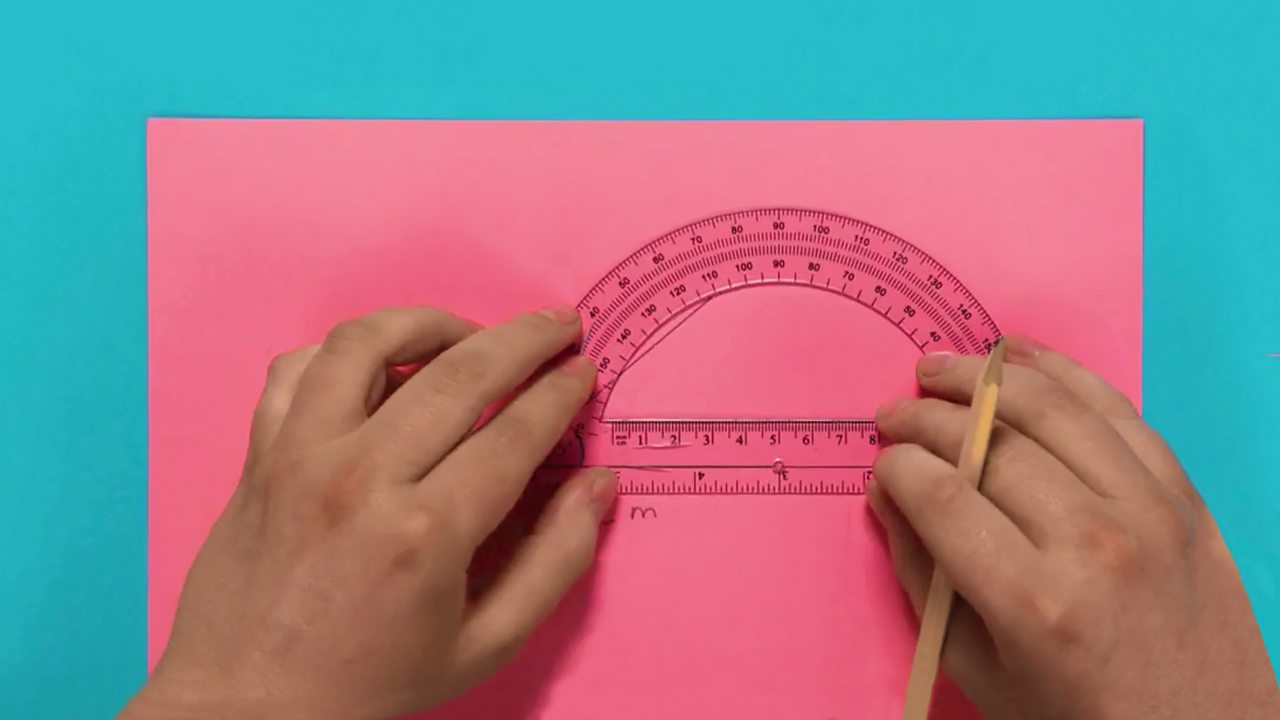
STEP 3: Place the protractor on the other end of the first line and mark a 50° angle up from the line with a dot. TIP: often protractors have an inner and outer scale. Make sure you read the one that has zero on the first line.
5 of 7
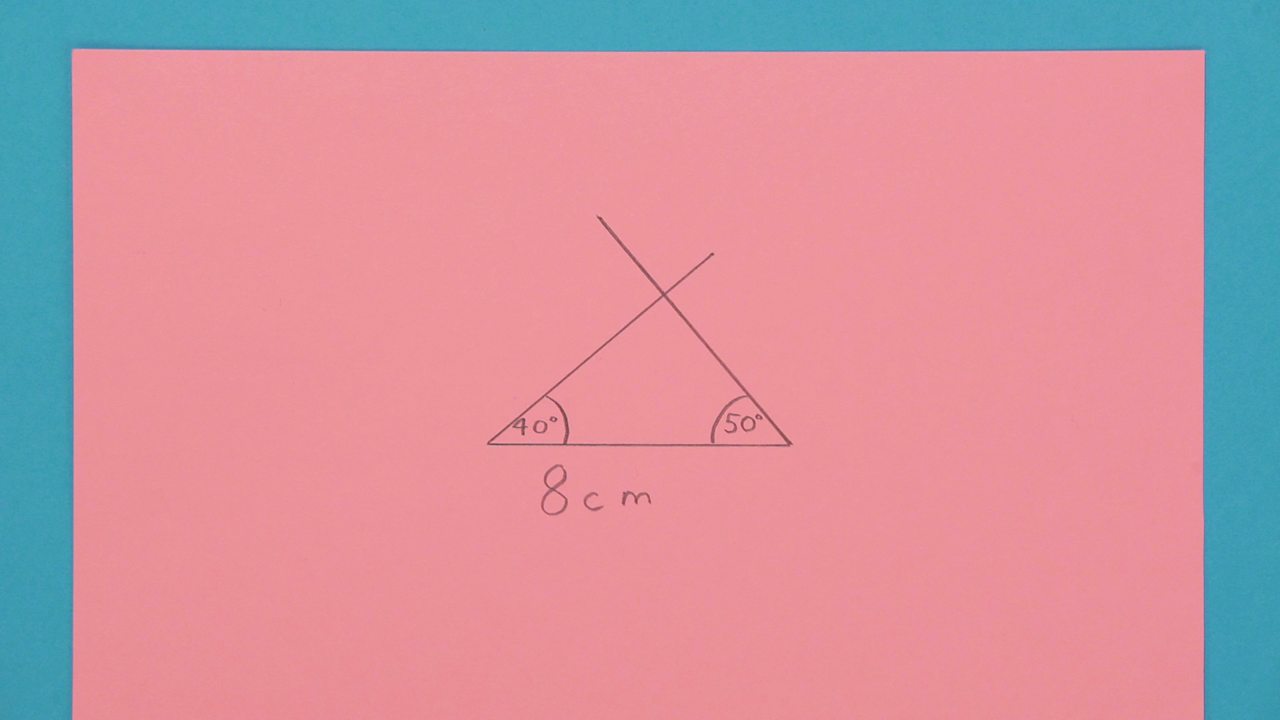
STEP 4: Draw a line from the end of the line through the dot so it crosses the other side. Extend the lines if you need to. Mark this angle 50°.
6 of 7
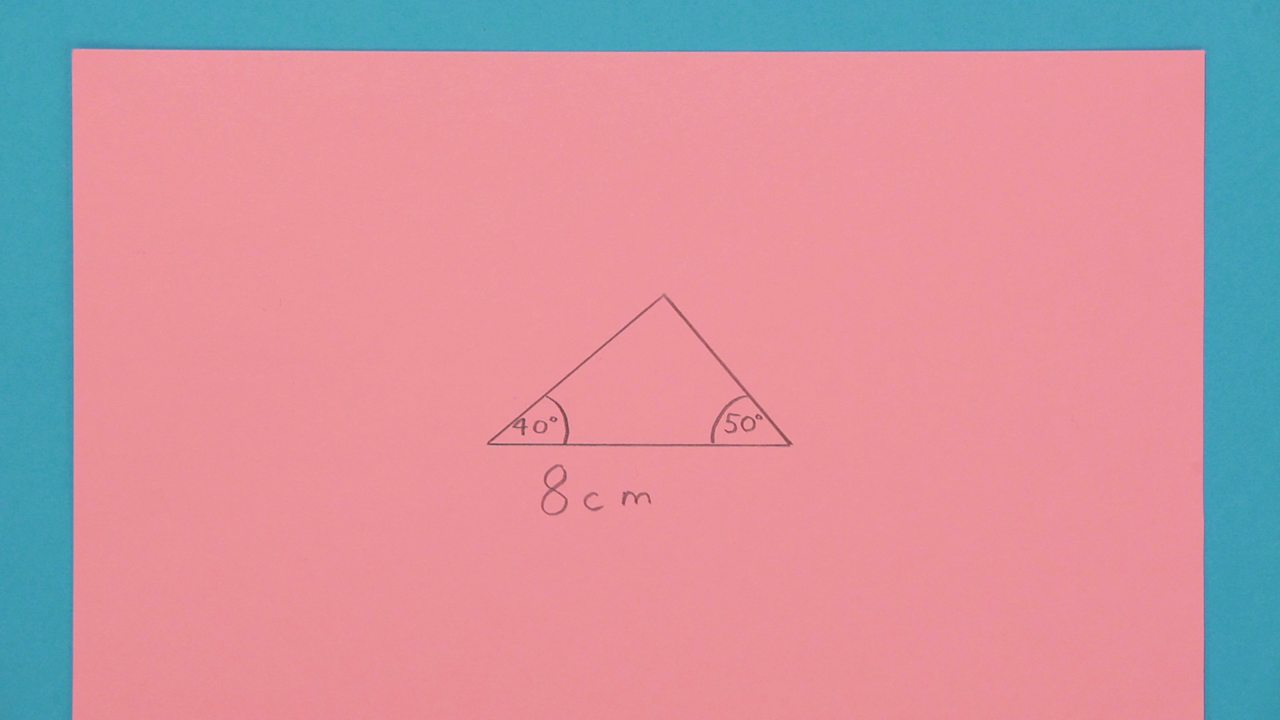
Well done! You've constructed a triangle, given the length of 1 side and 2 angles. TIP: if one of of the 2 angles is NOT at the end of the side you're given, it's easy to work out the third angle using the fact that there are 180° in a triangle.
7 of 7
How to construct a triangle given 2 sides and 1 angle
Click to see a step-by-step slideshow.
1 of 6
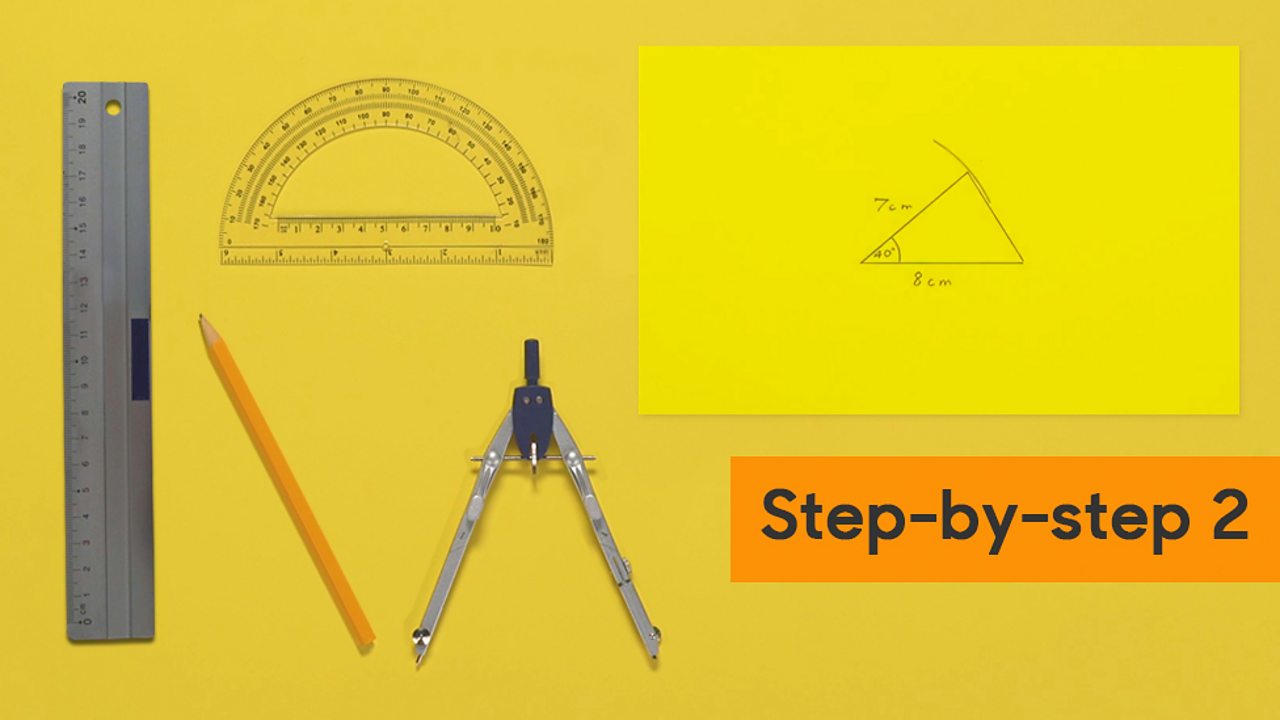
WHAT YOU NEED: ruler, protractor, compass, pencil and paper.
2 of 6
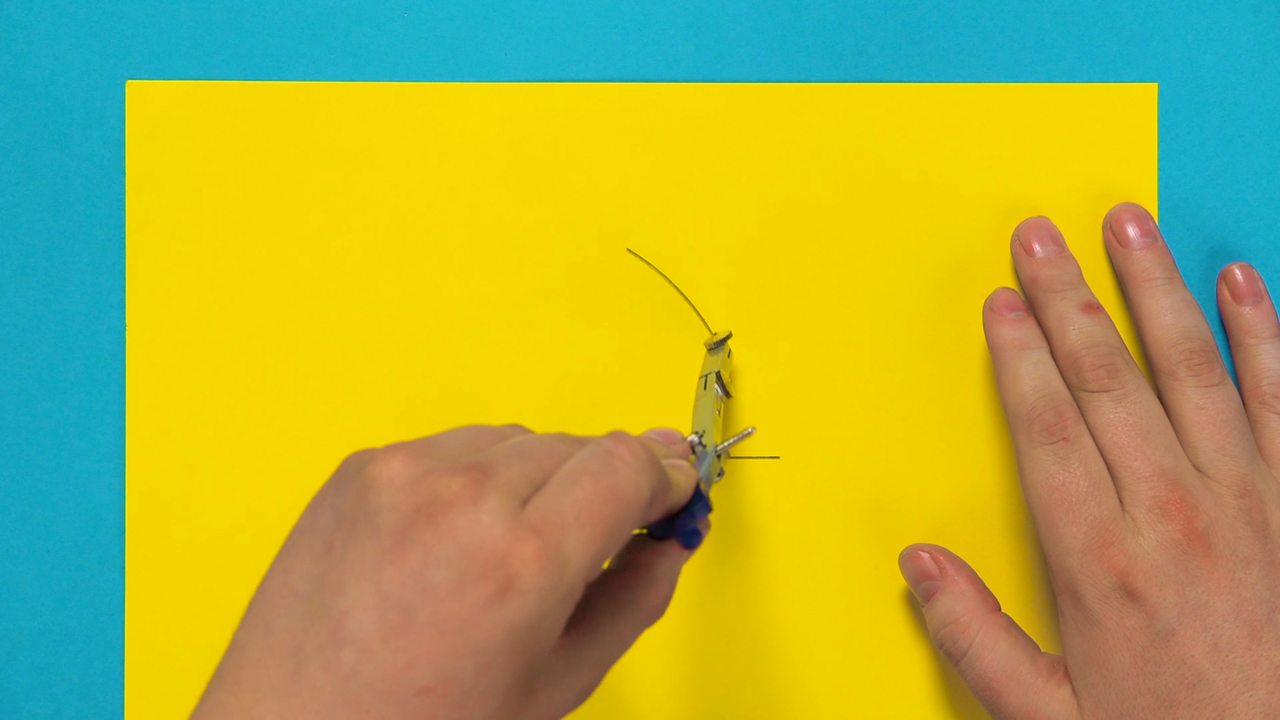
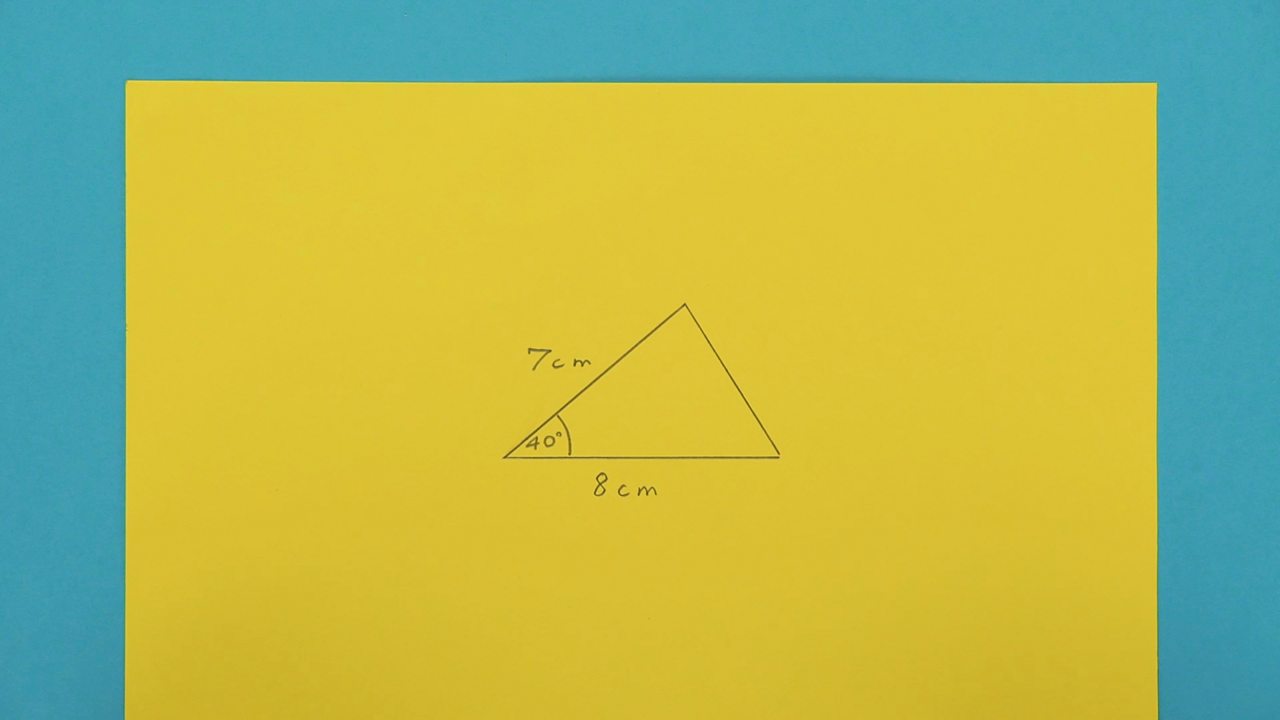
STEP 1: This is what to do when you know 2 sides and 1 angle: here 7 cm, 8 cm and 40°. Draw a straight 8 cm line using a pencil and ruler. Set the compass width to 7 cm. Place the compass at one end of the line and draw an arc.
3 of 6
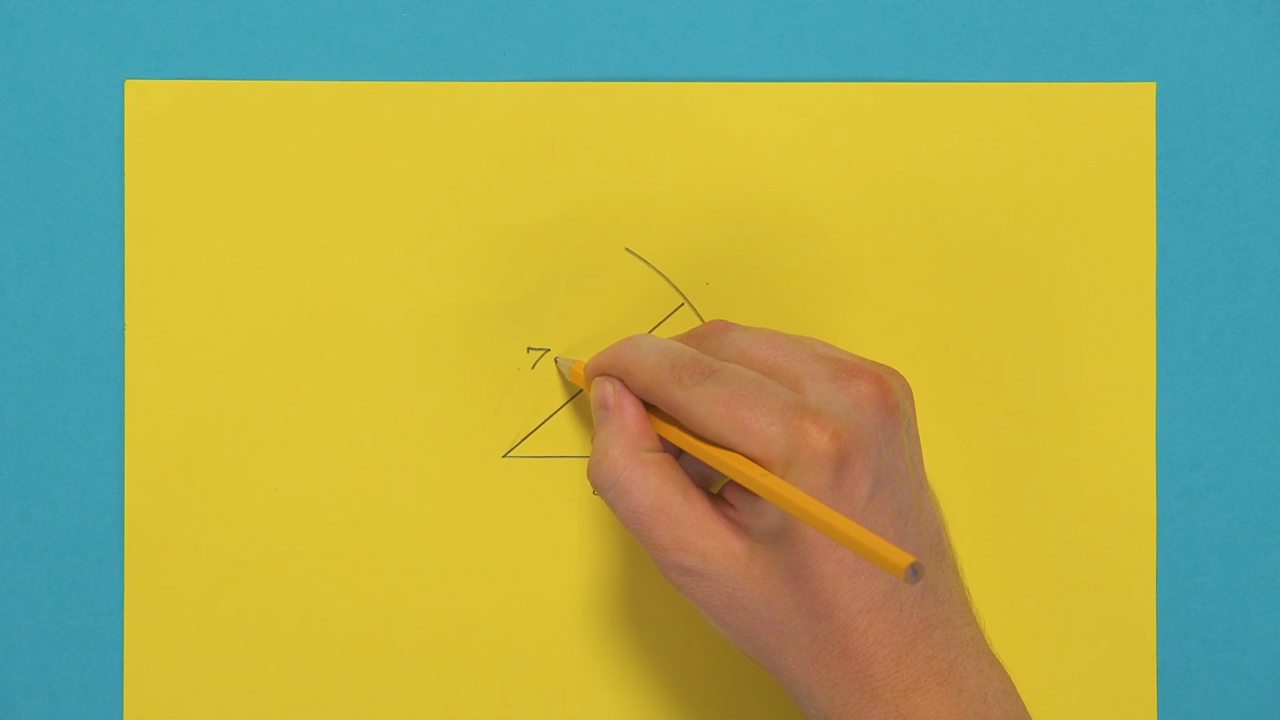
STEP 2: Centre the protractor on the same end of the line and make a dot at 40°. From the same end, use a ruler to draw a line through the dot, crossing the arc. Label the length 7 cm and the angle 40°.
4 of 6
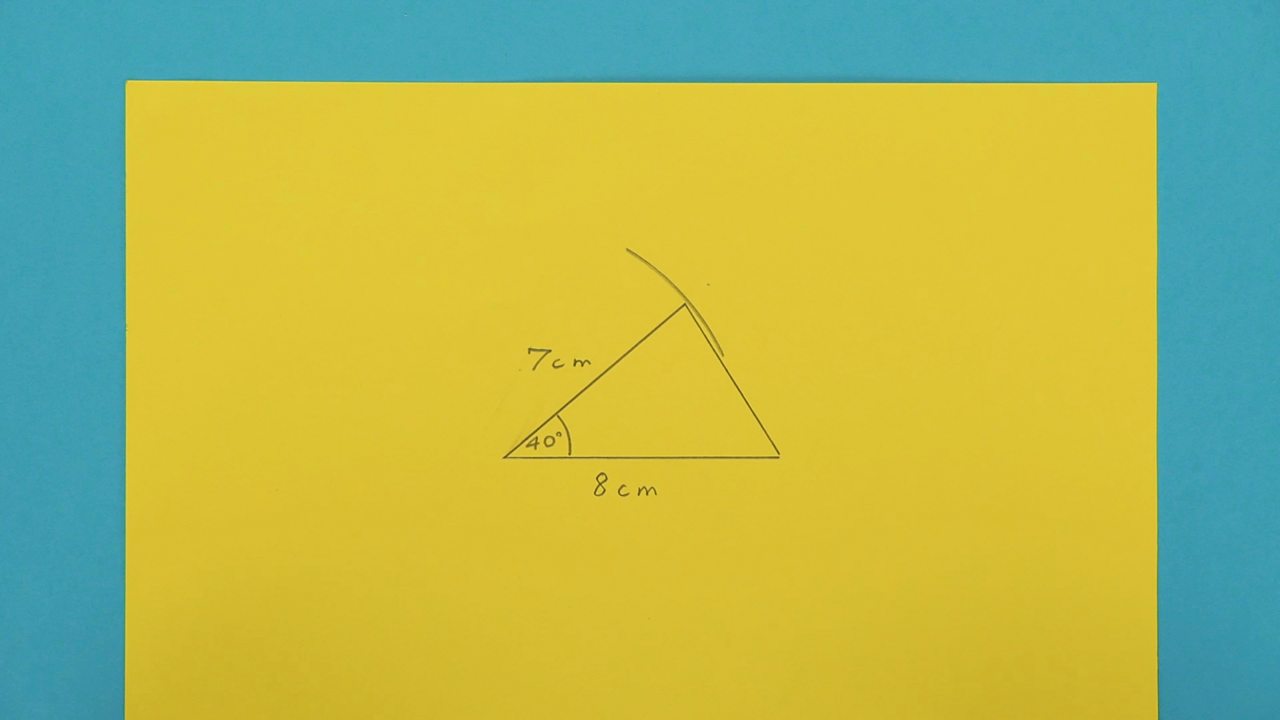
STEP 3: Use the ruler to join the other end of the horizontal line to the end of the side you have just drawn.
5 of 6
Well done! You've constructed a triangle after being told 1 angle and the length of 2 sides.
6 of 6
How to construct a triangle given 3 sides
Click to see a step-by-step slideshow.
1 of 7
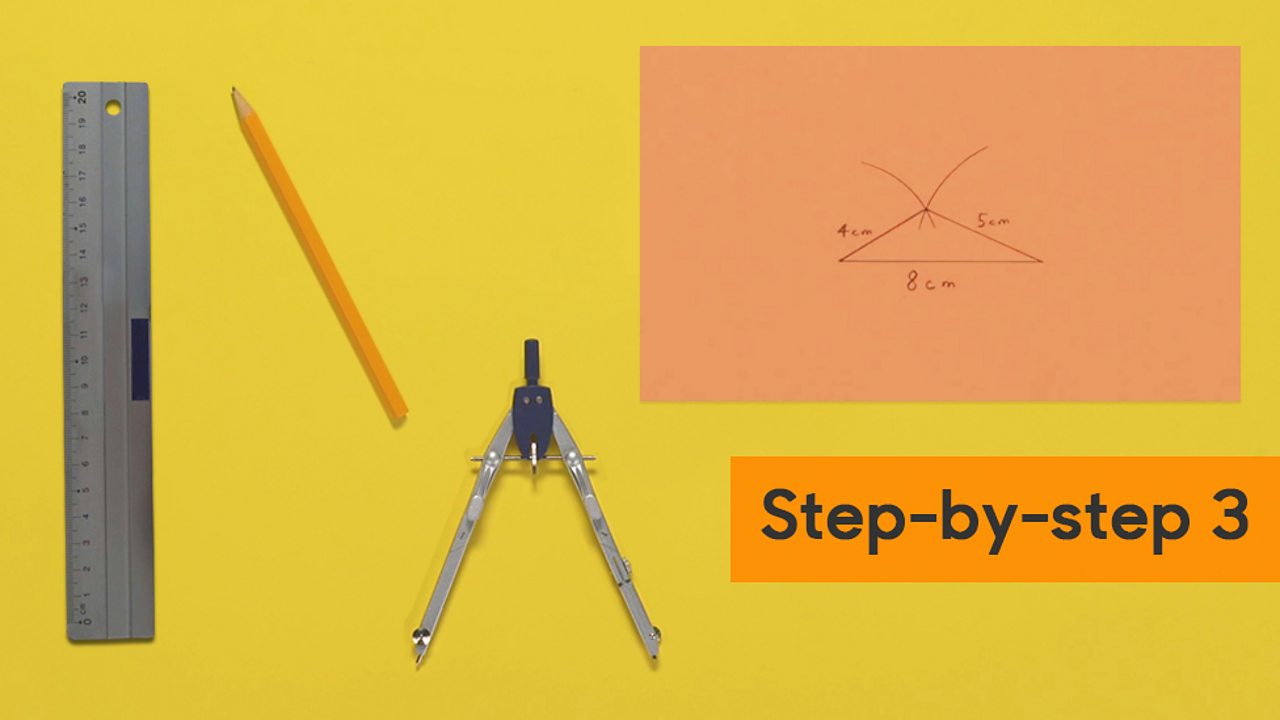
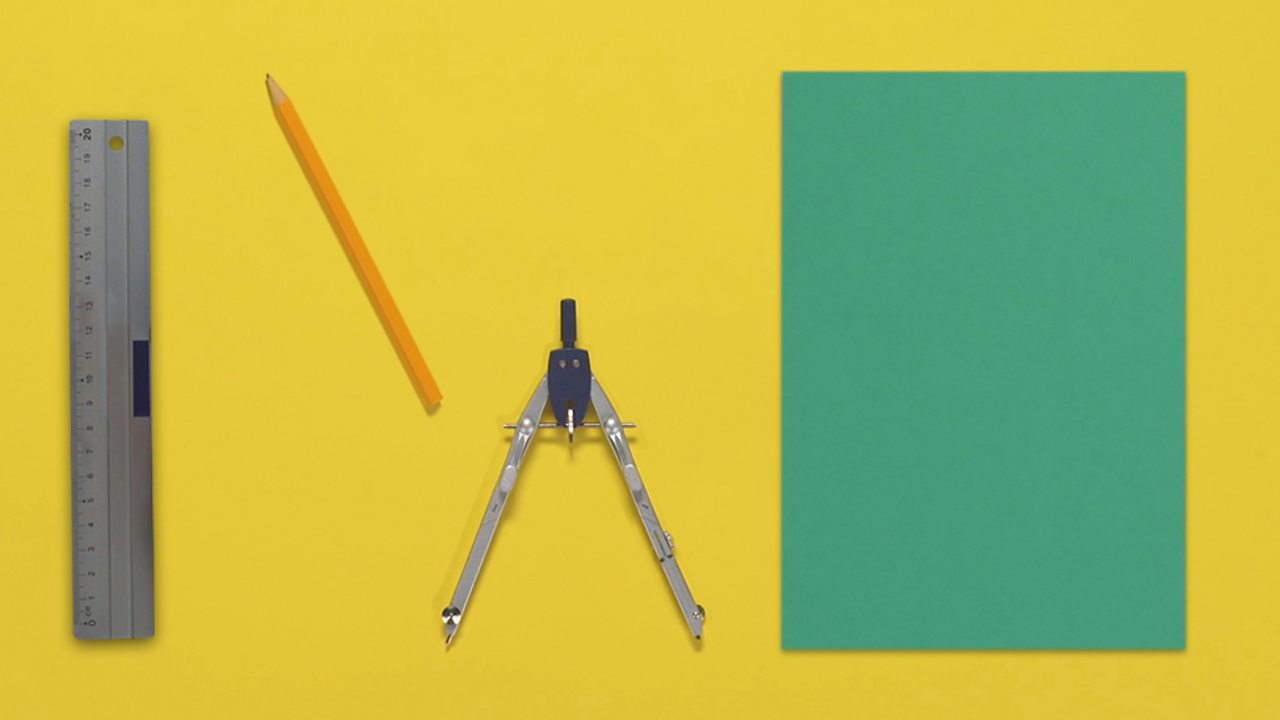
WHAT YOU NEED: ruler, compass, pencil and paper.
2 of 7
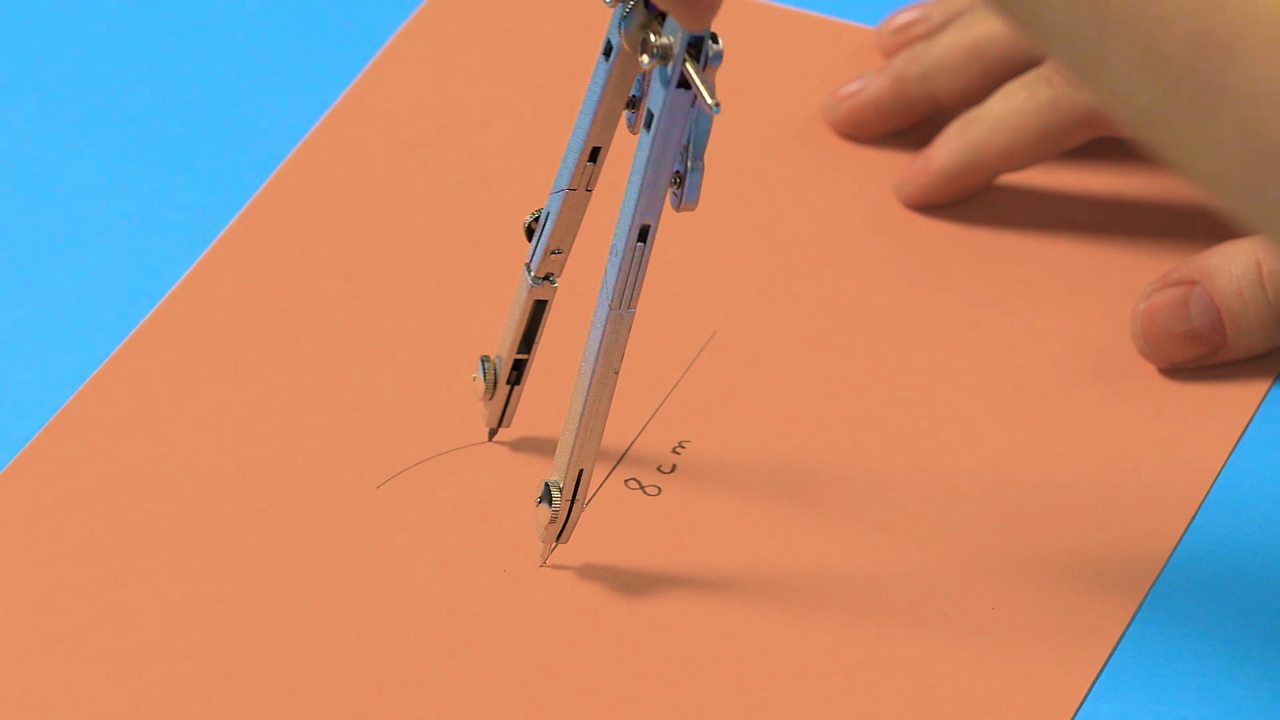
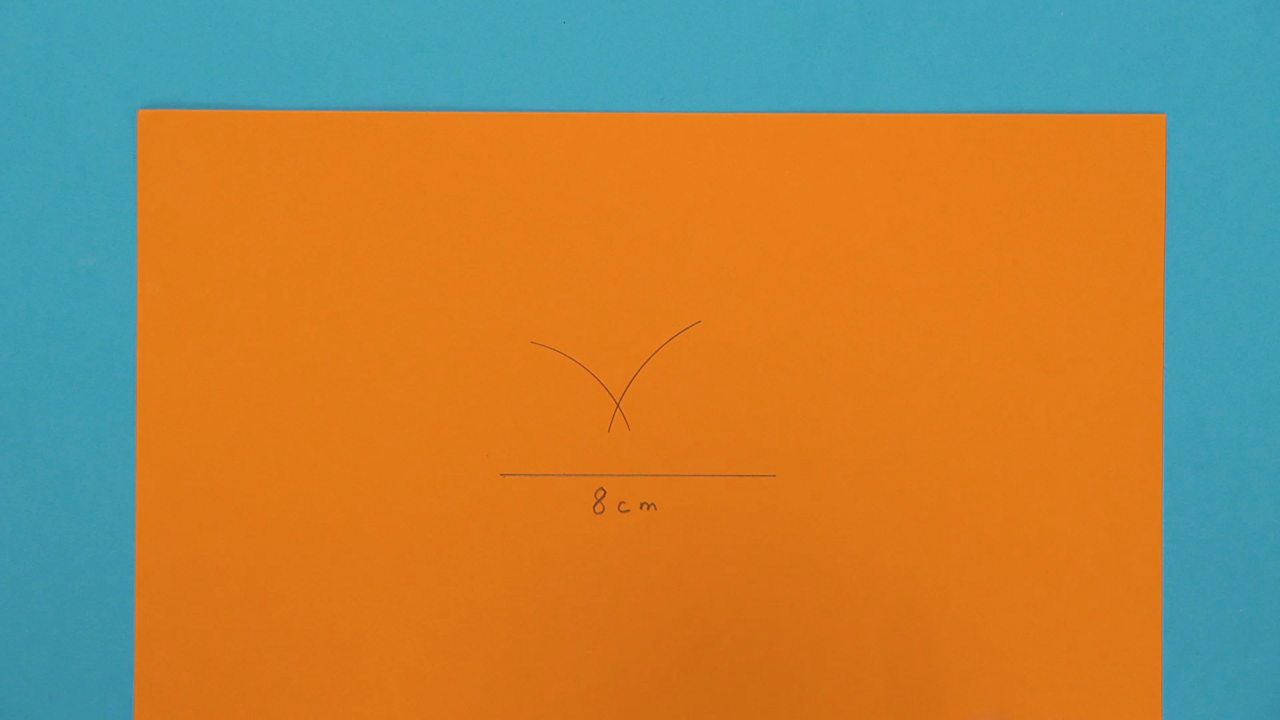
STEP 1: This is what to do when you know the length of all 3 sides: here 8 cm, 4 cm and 5 cm. Draw a straight 8 cm line using a pencil and ruler. Set the compass width to 4 cm. Place the compass at one end of the horizontal line and draw an arc.
3 of 7
STEP 2: Set the compass width to 5 cm. Place the compass at the other end of the line and draw an arc that crosses the first arc.
4 of 7
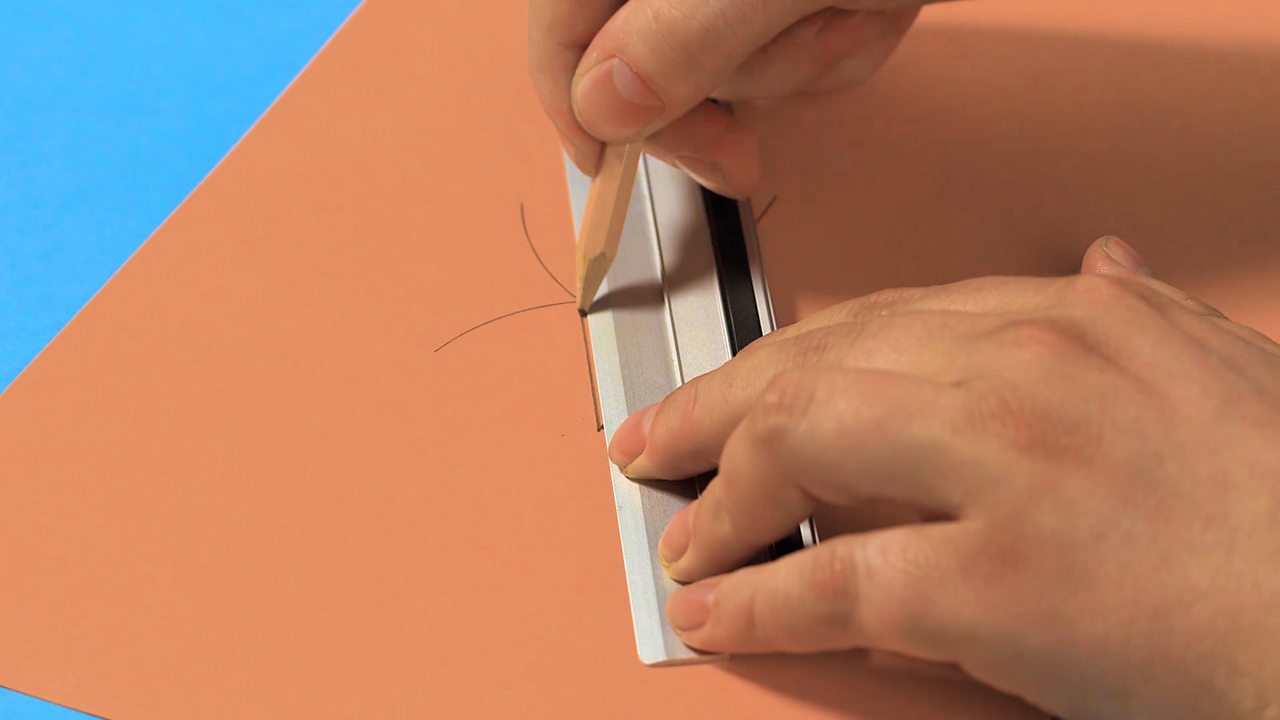
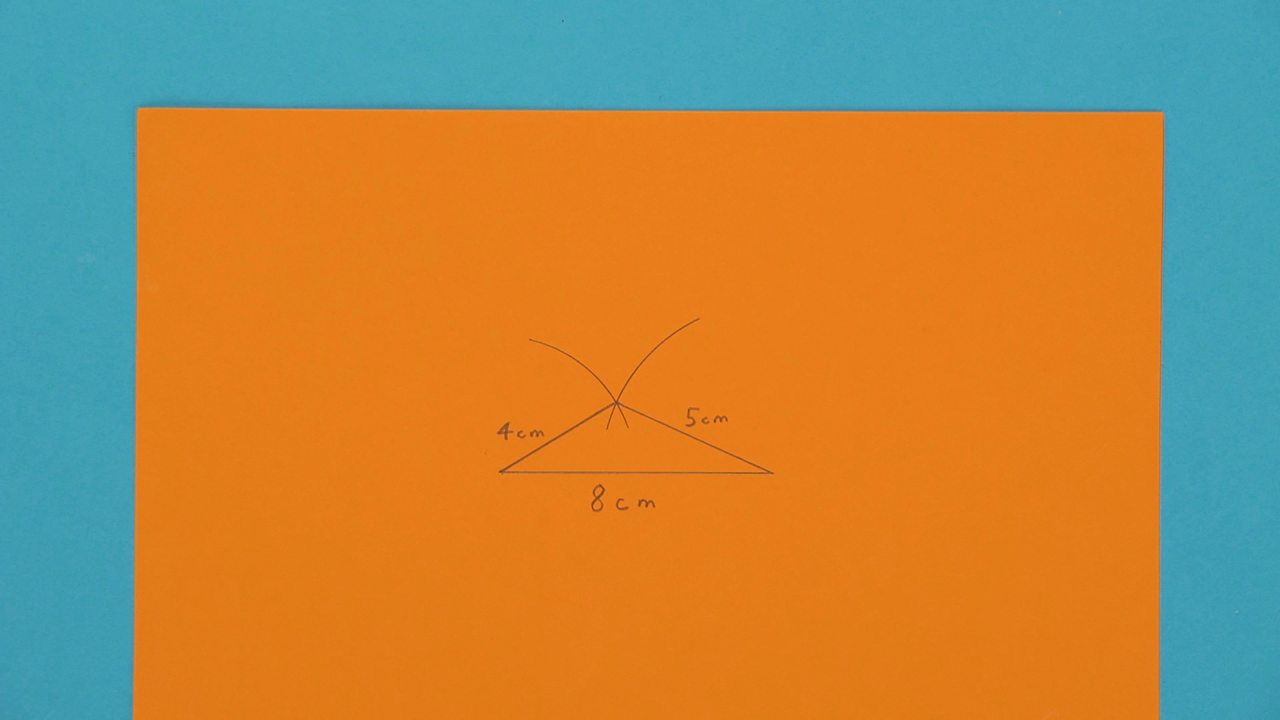
STEP 3: Use the ruler to draw a line from the left end of the horizontal line to the point where the two arcs meet and label the line 4 cm.
5 of 7
STEP 4: Use a ruler to join the other end of the line to the point where the two arcs meet and label the line 5 cm.
6 of 7
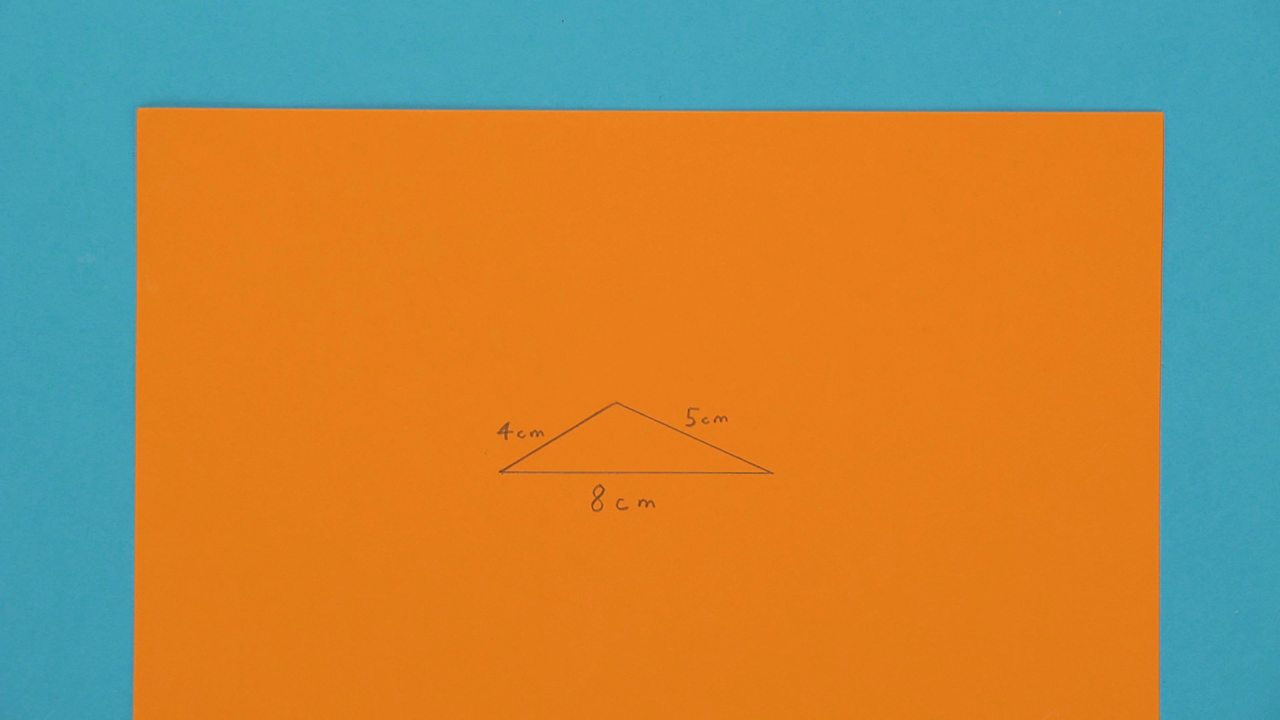
Well done! You've constructed a triangle after being told the length of all 3 sides.


0 Response to "Drawing Triangles With A Protractor"
Post a Comment