How To Draw A Street Light
Looking for a cool way to explore 1 point perspective drawing on a unique art medium? Check out this step by step tutorial for etching a 1 point perspective street with glowing street lights on scratch paper. This post includes a materials list, video tutorial, and step by step photos to work at your own pace.
Looking for another scratch art tutorial , check out my blog post on etching a scratch art eye.
One point perspective reminders:
One point perspective is a type of drawing in which there is only one vanishing point on the horizon line. Throughout this drawing you will use three types of lines: PARALLEL to the horizon line, PERPENDICULAR to the horizon line, and CONVERGING with the horizon line. If you would like a more detailed overview of one point perspective, check out my blog post here.
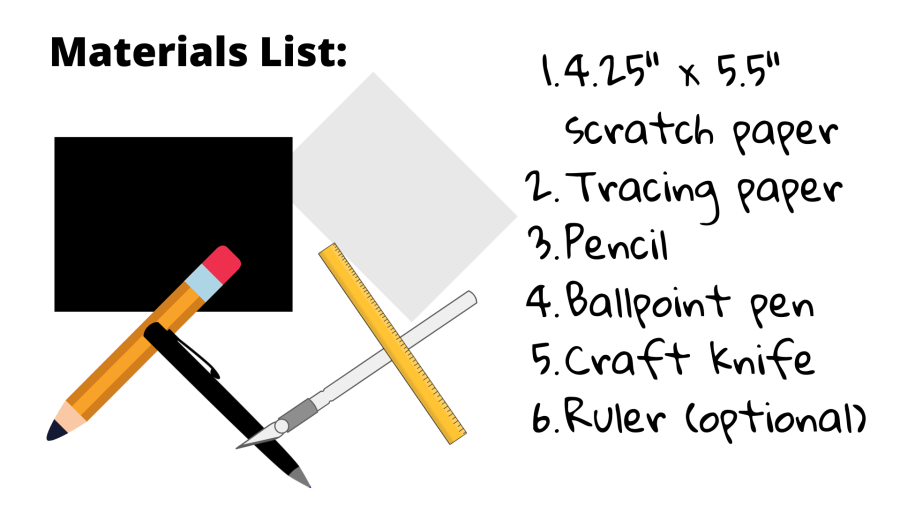
Materials List:
I love this 8.5 x 11″ scratch paper from Amazon. It's good quality and a great price!
- 4.25″ x 5.5″ scratch paper.
- Tracing paper
- Pencil
- Ballpoint pen
- Craft knife
- Ruler (optional)

Tip:

Take one piece of 8.5″ x 11″ piece of scratch paper and divide it into 4 equal rectangles to practice out scratch art techniques. Divide it vertically at 4.25″ and horizontally at 5.5″. Voila! Four even rectangles of the same size. TIP! Draw your lines on the BACK of your paper!
Video Tutorial:
Step by step photos with instructions:

Step 1: Sketch your lines on a piece of tracing paper. Draw a horizon line, then add a vanishing point. Draw some road lines that converge to the vanishing point. Draw some guidelines for the street lights. The street lights will be PERPENDICULAR to the horizon line. They will be larger and more detailed the further away from the vanishing point they are. As they move closer to the vanishing point, they will get smaller, closer together and less detailed.

Step 2: Place your tracing paper on top of your scratch paper. Use ball point pen to trace your lines to make indentations (*not scratches*) onto your scratch paper below.

Step 3: Etch vertical lines onto the poles of your streetlights. They will be a brighter white at the top and fade as they move down.

Step 4: Etch away tops of your street lights. The lights will be VERY white, so etch nearly all the black away.

Step 5: Create a glowing cast of light from your street lights by etching lines that all go in the same direction. Closer to the light they will be brighter white and fade gradually as they move away.

Step 6: Etch the spotlight that the street lights are casting onto the ground below. Note that all the lines are going in the same direction.

Step 7: Create a light gray road. The road will have more light on the side closer to the street lights and gradually fade off. Include the etched street lines in the middle of the road.
As you finalize, push the contrast by cross hatching to create brighter whites.
Thank you for checking out this tutorial! If you do the activity, please feel free to share your work if you'd like. I would love to feature some finished examples on this post! My email is [email protected] or you can tag me on Instagram @makeamark_studios . Feel free to leave any comments or feedback!
-Stephanie Villiotis
How To Draw A Street Light
Source: https://makeamarkstudios.com/how-to-etch-glowing-streetlights-with-1-point-perspective/
Posted by: stewartfortalwyneho.blogspot.com

0 Response to "How To Draw A Street Light"
Post a Comment